In TMaSS there are two types of vehicle inspections that can be carried out, managed and unmanaged.
A managed inspection, as explained in this article, is an inspection carried out on a vehicle asset that has been added in the system. While an unmanaged inspection, is an inspection that is carried out on a vehicle that is not in the system.
NOTE: Managed vehicle inspections can only be carried out using the web platform. The mobile platform only supports unmanaged inspections. |
Each inspection regardless of its type is given an inspection number. This number is uneditable, and searchable making it simple to find in the system.
Add a managed vehicle inspection.
To add an inspection, navigate to the Assets module, find the desired tyre asset and click the inspection icon as highlighted in the image below.

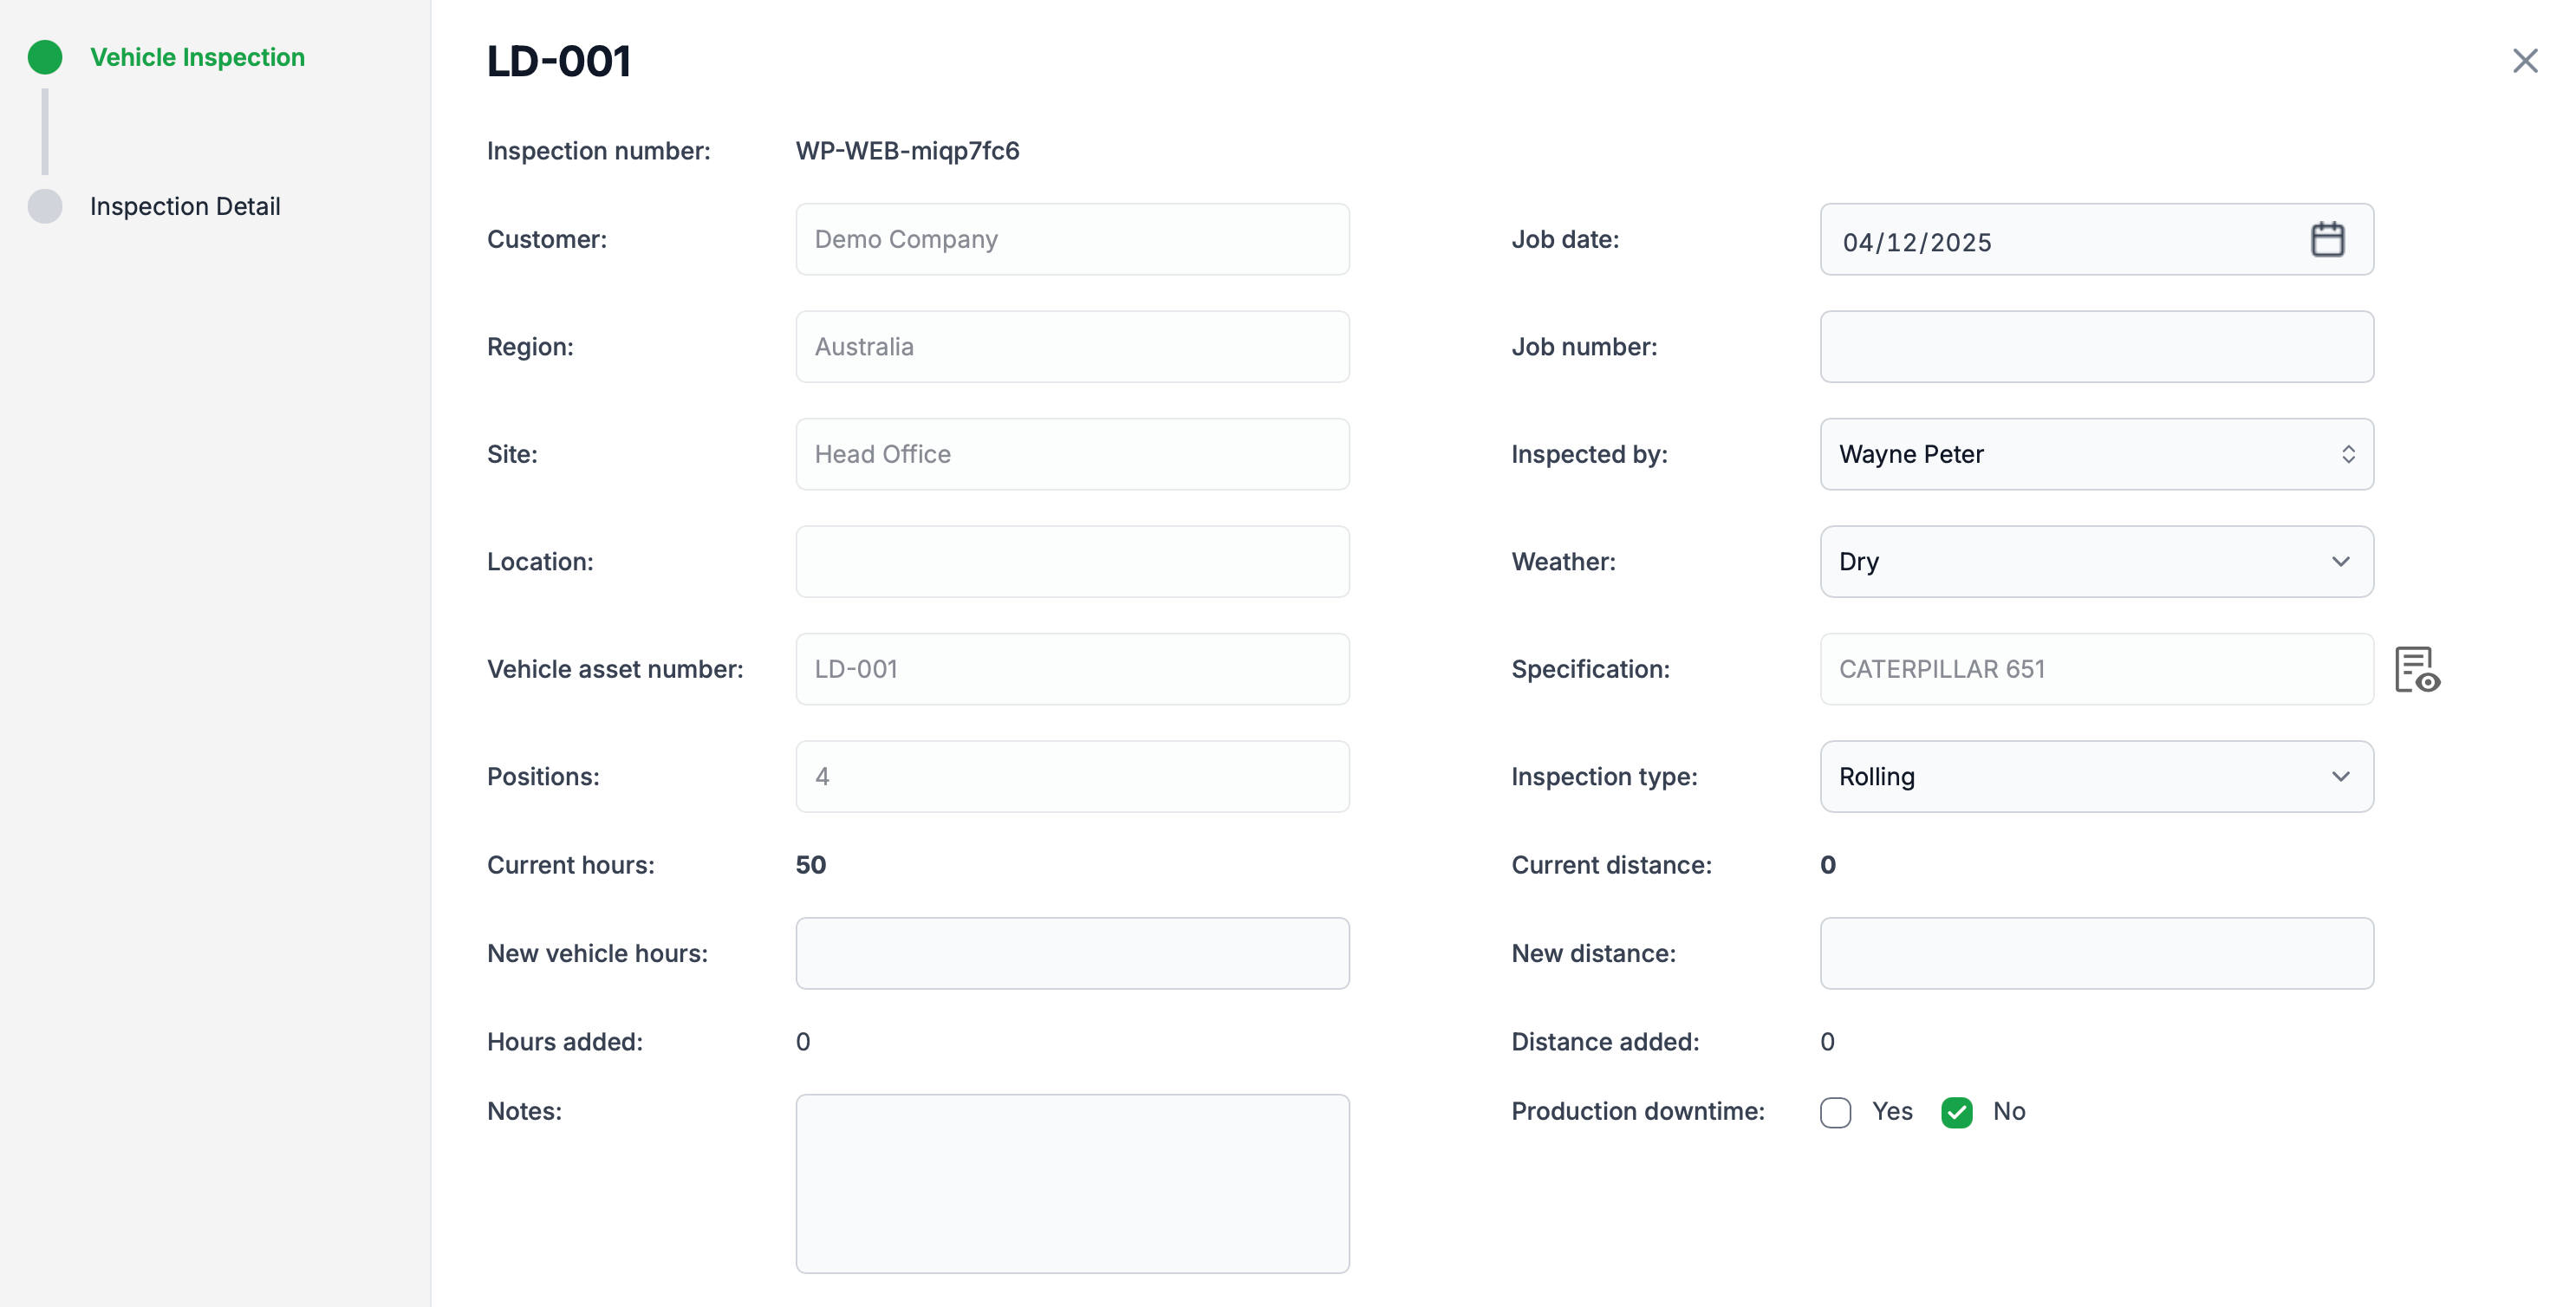
After clicking the inspection icon the 'Vehicle Inspection' dialogue will be displayed. By default the customer, region and site information as well as the current vehicle details will be displayed. From the 'Inspected by' dropdown, select a single or multiple users who carried out the inspection.
The inspection status can also be changed at this point, this is different to the assets disposition, and changing its status will not affect its disposition.
You can also update the hours, odometer, weather type, job number and add notes, although these fields are not mandatory.
Click next to move to the 'Inspection Detail' page
The Inspection Detail page is where the tyre position detail is added.
| NOTE: By pressing save without adding any tyre information will save the inspection. This is helpful when only a visual inspection is required and no damage needs to be recorded. |
To cycle through each position by clicking on the position number.
Any photos taken on this dialogue will be associated with the vehicle, while you can add specific tyre damage photos when adding damage.

Once you have added the required information and no damage has been identified , press save to exit.
Adding Tyre Damage
Although not required by default, you can add as many damages as necessary. You can add damage at any time during the inspection process by pressing the 'Add' button.

The damage dialogue allows you to add the lug number, cut depth, the side of the wheel (A or B) the priority and any comments. You can also add multiple images of the damage. Adding images here are associated with the damage being added.

Press save to save the damage and exit to the inspection dialogue. Once you are happy with the inspection details press 'Save' to save your inspection and exit.

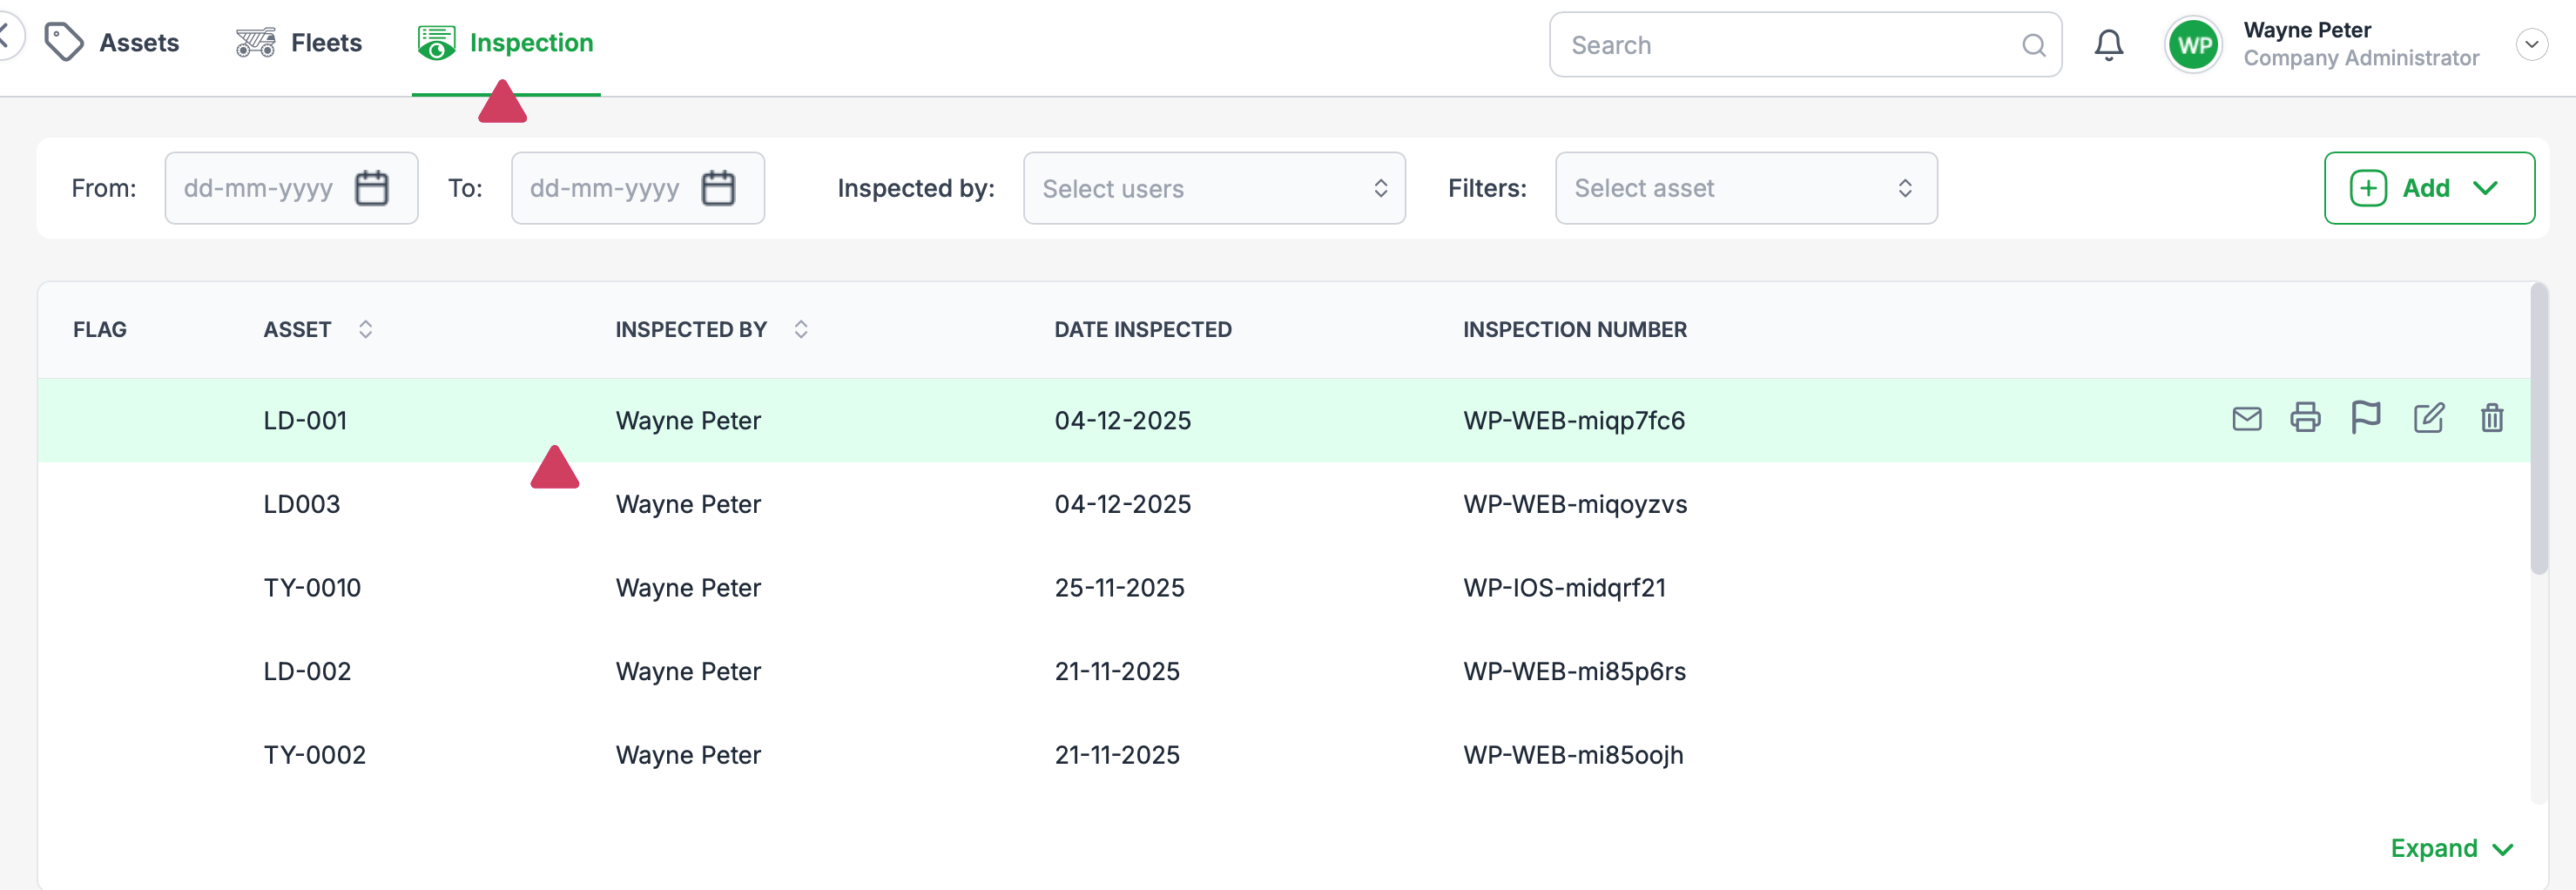
Once saved, your inspection will be saved in the 'Inspection' sub-module as shown in the below image.
Was this article helpful?
That’s Great!
Thank you for your feedback
Sorry! We couldn't be helpful
Thank you for your feedback
Feedback sent
We appreciate your effort and will try to fix the article