This article explains how to create a tyre inspection in the TMaSS Mobile app, either for a managed tyre or as a new inspection for a non-managed tyre created from the Assets or Inspections tabs.
TABLE OF CONTENTS
- 1. Ways to start a tyre inspection
- 2. Inspection header details (Image 1)
- 3. Tyre details & auto-populated fields (Image 2)
- 4. Adding photos to an inspection
- 5. Recording damage on a tyre
- 6. Saving the inspection
1. Ways to start a tyre inspection
You can start an inspection in two ways:
From a managed tyre (recommended)
Go to the Assets tab.
Tap the tyre you want to inspect.
On the tyre details screen, tap the Add (+) button at the bottom to create a new inspection for that tyre.
From the Add button
From either the Assets or Inspections tab, tap the Add (+) button at the bottom of the screen to start a new inspection.
When you start an inspection from a managed tyre, the app will automatically pre-fill key information, as described below.
2. Inspection header details (Image 1)
The first inspection screen (see Image 1) shows the header details:
Date – defaults to today, tap the calendar icon to change if required.
Company* – auto-populated for managed tyres.
Region* – auto-populated.
Site* – auto-populated.
Location – optional free-text field you can use to record where the inspection is taking place.
Required fields are marked with an asterisk (*).
Image 1 – Inspection header

Tap the Next (→) button at the bottom right to move to the tyre details.
3. Tyre details & auto-populated fields (Image 2)
On the second screen (see Image 2) the app fills in tyre information for managed tyres:
Automatically populated:
Tyre asset number*
Specification* (tyre size/pattern)
Vehicle and Position (if the tyre is currently attached to a vehicle)
Hours (current hour meter)
Distance (current distance travelled)
TD inside / TD outside (latest inner and outer tread depths)
Inspection status (e.g. In-Production)
You can update hours, distance and tread depths with the measurements taken during the inspection.
Important:
Inspection status is not the same as disposition. It describes the outcome of this inspection only. Changing the inspection status does not change the tyre’s disposition.
At the bottom of this screen (see Image 2):
Left arrow – go back to the company details screen.
Damage icon – second from the left, opens the damage list for this inspection.
Camera icon – capture or attach photos for the inspection.
Save icon – saves the inspection.
Image 2 – Tyre detail & actions

4. Adding photos to an inspection
To attach photos of the tyre:
Tap the Camera icon at the bottom of the tyre details screen.
Choose to take a new photo or select from your photo library (depending on your device).
Confirm to attach the image to the inspection.
These photos are stored with the inspection record and linked to the tyre.
5. Recording damage on a tyre
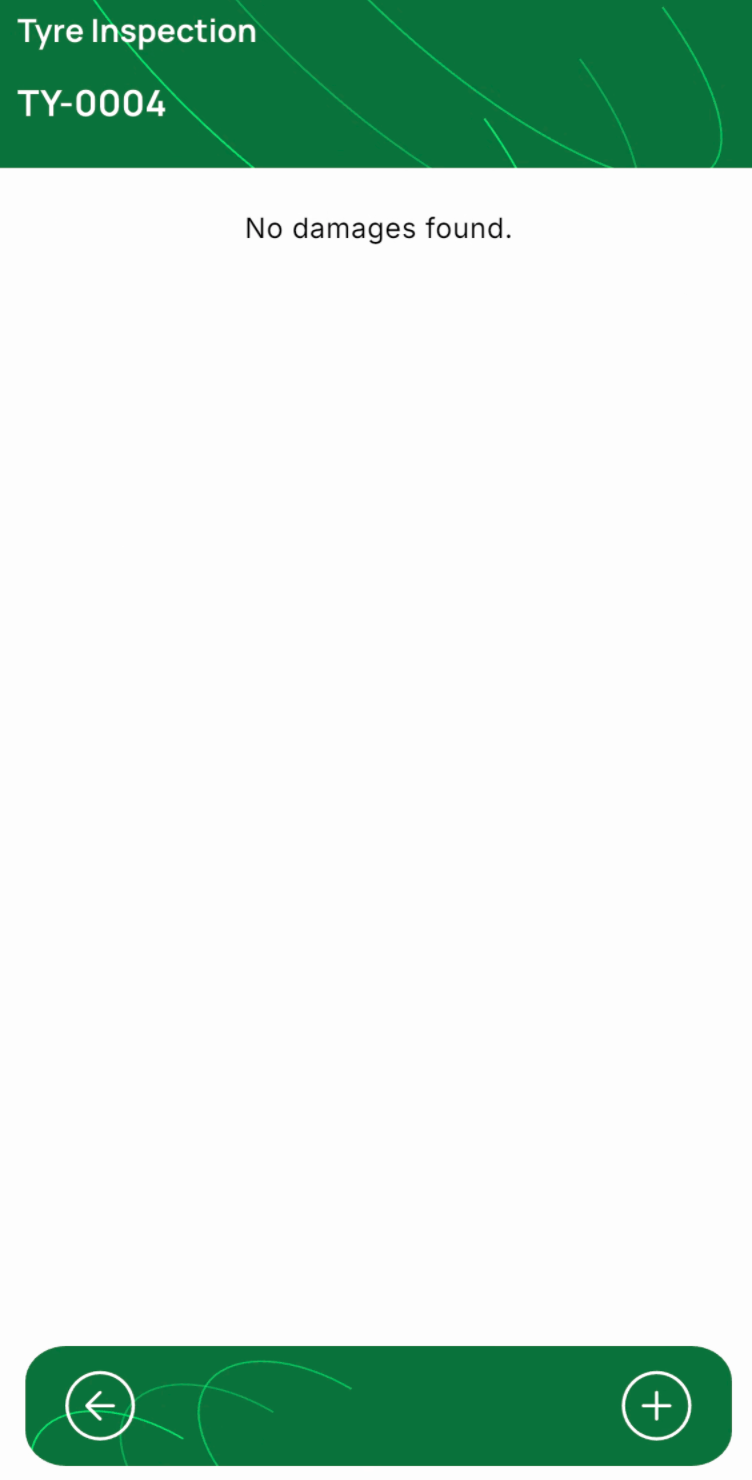
5.1 Open the damage list (Image 3)
From the tyre details screen, tap the Damage icon (second from the left).
The Damage list screen opens (see Image 3).
If no damage has been recorded yet, you’ll see “No damages found.”
Image 3 – Damage list
5.2 Add a damage record (Image 4)
On the damage list screen, tap the Add (+) button at the bottom right.
The Add Damage screen opens (see Image 4).
Complete the fields:
Lug number* – identifies the exact lug where the damage is located.
Cut depth* – measured depth of the cut or damage.
Side – select A or B to indicate which side of the tyre the damage is on.
Priority – select 1, 2 or 3 to indicate urgency or severity.
Cut location* – choose the location of the damage (e.g. sidewall, crown).
Notes – optional free-text for any additional information.
At the bottom:
Back arrow – return to the damage list without saving.
Camera icon – capture or attach photos of the damage. You can add up to 2 images per damage record.
Save icon – saves the damage record and returns you to the damage list.
Image 4 – Add Damage

You can repeat this process to add multiple damage records to the same inspection.
6. Saving the inspection
When all required details, photos and damage records have been added, return to the Tyre details screen (back arrow from the damage list if needed).
Tap the Save icon at the bottom right.
The inspection is now stored on the device (subject to your data-retention settings) and will be synchronised back to TMaSS when the device next syncs. NOTE: Synchronising data is a manual process initiated through the Settings screen.
By following these steps, technicians can quickly record consistent tyre inspections in TMaSS Mobile, including site context, tyre measurements, photos and detailed damage information.
Was this article helpful?
That’s Great!
Thank you for your feedback
Sorry! We couldn't be helpful
Thank you for your feedback
Feedback sent
We appreciate your effort and will try to fix the article