The following article will give you an understanding of, and lead you through creating and updating a company structure.
A good company structure reflects how your teams find places and how you group sites in reports. Give each site a name your team recognises and place it under the region or sub-region responsible for it.
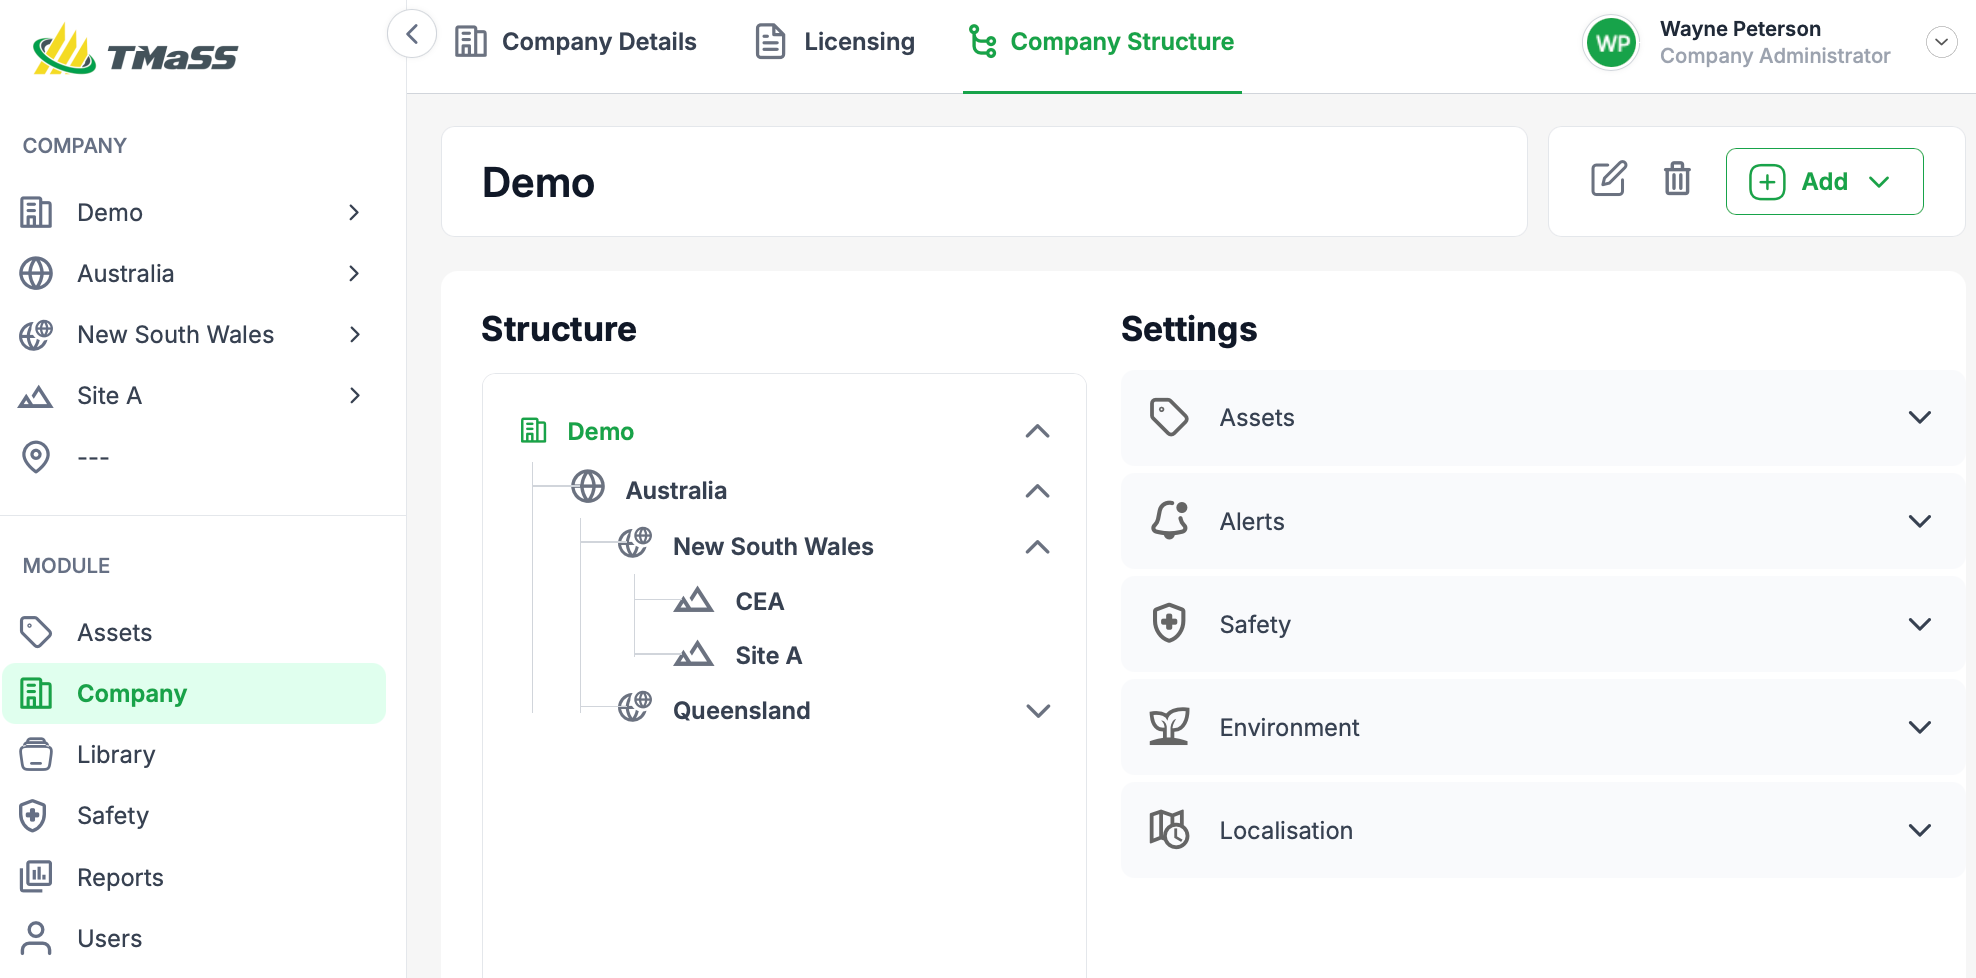
Navigation. If two sites both have a Tyre Store, the site name tells users which store they are opening. To find the one at Sandgate, follow Australia → New South Wales → Sandgate → Tyre Store.
Reporting. Grouping Sandgate under New South Wales lets you report on it alongside other sites in that state. If you place Sandgate directly under Australia, it still belongs to the Australian region, but it has no state grouping for reports.
Open the company structure
Select Company in the left menu, then select the Company Structure tab. In the Structure tree, use the arrows to expand a branch and select an element by name.
Choose your structure levels
Region — A broad geographic area, such as Australia.
Sub-region — A division within a region, such as New South Wales. This level is optional but recommended for reporting and future expansion.
Site — An operating site, often named for a city or town, such as Sandgate.
Location — A specific place within a site, such as the Tyre Store at Sandgate.
Add a branch to the structure
Select the element that will contain the new entry, then open Add. The menu changes with your selection. To build the example branch, work from the company down.
1. Add the region. Select your company in the tree and choose Add → Region. Enter Australia and save the entry.
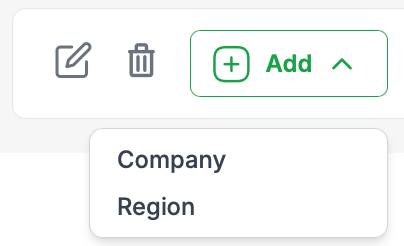
2. Add the sub-region (optional). Select Australia and choose Add → Sub-region. Enter New South Wales and save. To skip this level, keep Australia selected and add your site directly under the region.
3. Add the site. Select New South Wales and choose Add → Site. Enter Sandgate and save. When a sub-region is selected, Site is the only option.
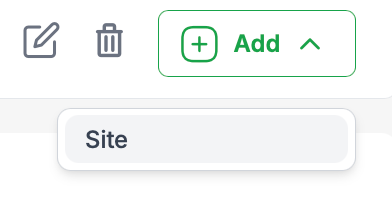
4. Add the location. Select Sandgate and choose Add → Location. Enter Tyre Store and save. When a site is selected, Location is the only option.
Expand the Sandgate branch and check that Tyre Store appears beneath it.
Edit or delete an element
Select the entry in the Structure tree and check its name at the top of the page. The available actions depend on the selected element.
Edit — Select the pencil icon, update the details and save your changes.
Delete — Check that the intended entry is selected, then select the bin icon and follow any prompts to complete the deletion.
Was this article helpful?
That’s Great!
Thank you for your feedback
Sorry! We couldn't be helpful
Thank you for your feedback
Feedback sent
We appreciate your effort and will try to fix the article